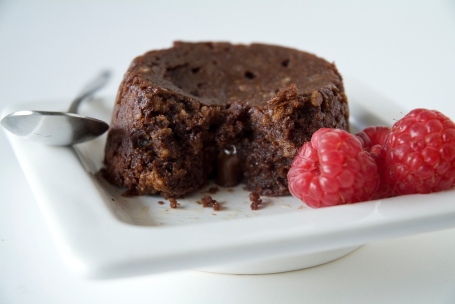
Recipe: Mini Chocolate Cakes With Liquid Filling
Mini Chocolate Cakes With Liquid Filling
Ingredients:
Serves 4
35 g flour
40 g icing sugar
80 g ground almonds
2 egg whites, beaten
80 g butter, melted
160 g dark chocolate, melted + 4 additional small pieces
Preparation:
1. Preheat oven to 150°C.
2. Mix flour, sugar, almonds, egg whites, butter and chocolate.
3. Put half of the mixture into four oven-proof, greased soufflé moulds.
4. Insert one chocolate piece into the center of each mould.
5. Cover with the rest of the dough.
6. Bake for 20 min in the oven (or until baked through).
7. Take from oven, leave to rest for 5 min.
Enjoy!
Lots of excuses & a recipe
Well, so I’ve been absent from this blog for quite a long time. I do have quite a long list of excuses why, but I won’t bore you with that. Let me just mention that “master thesis” is one of them…
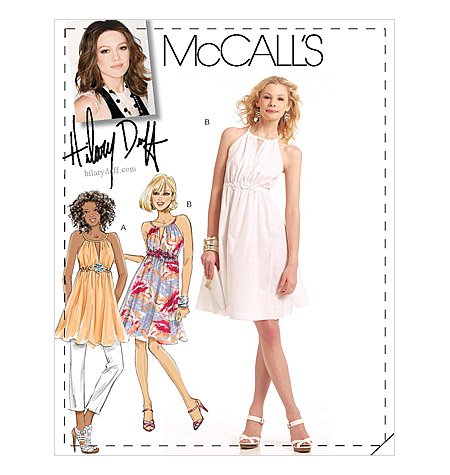
Sewing has taken a break for the moment. I do however have one of my planned projects almost finished. Yes, the McCall M5880 dress.
It just doesn’t fit right at the moment so I’ll have to take it apart again and take it in under the arms.
The next post will contain a recipe I just love for its easiness and deliciousness. Mini chocolate cakes with a liquid filling! Mmmhh….
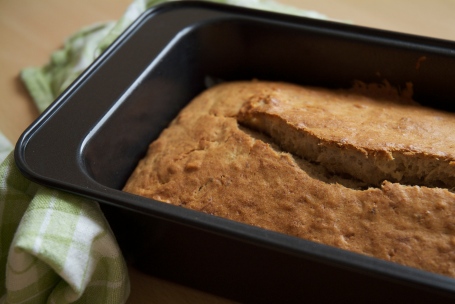
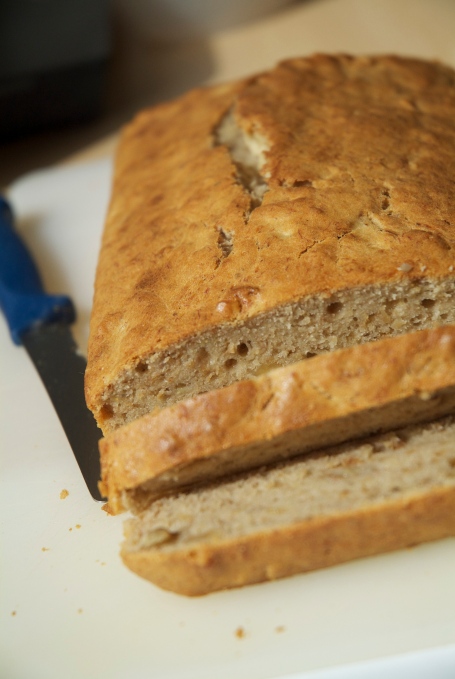
Recipe: Banana & Walnut Bread
Who doesn’t love a good banana bread? =)
Banana & Walnut Bread
(I used a 25 cm x 14 cm cake tin, which gives you a bread of about 5-6 cm.)
Ingredients:
100 g butter, softened (+ a little bit for greasing the cake tin)
140 g brown sugar
1 egg
225 g plain flour
2 tsp baking powder
4 bananas (the riper, the better!), mashed
90 g walnuts, chopped
3 tbsp milk
Preparation:
• Pre-heat oven to 180°C.
• Grease your cake tin & line its base with parchment paper.
• Mix softened butter with egg and sugar.
• Gradually add flour and baking powder to mixture.
• Add the mashed bananas, the chopped walnuts and the milk. Mix together.
• Pour mixture into cake tin and bake for 1 hour (or until skewer comes out clean).
• Allow to cool before removing bread from tin.
Enjoy!
What I’ve been up to
Well, apart from passing my last-ever university exam (yay!), there’s the small matter of completing my thesis. Regarding sewing, I finally found the time to alter some clothing. Just a few alterations – mending holes, taking in at the sides, shortening the strap length on one of my favourite tunics etc.
I am also working on finishing my next project for the pattern challenge. As soon as I resolve the last issues I have with the garment, I will present it to you! Let’s just say I’m not yet completely happy with it…
Additionally, I submitted my Cabo Halter top to the Spring Top Week that’s taking place over at Made by Rae.
Check out the flickr pool of all the entries!
Wishing you all a very happy Easter weekend =)
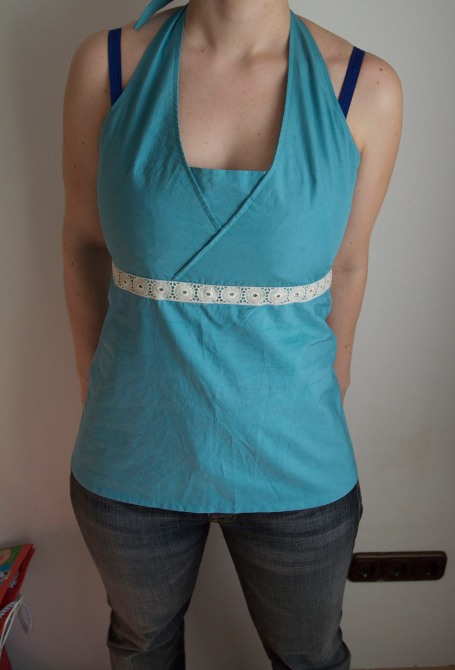
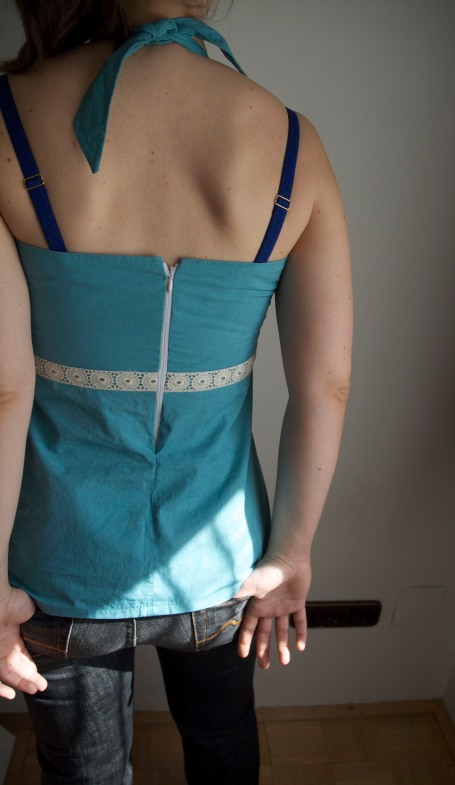
Pattern Challenge: Cabo Halter Modeled
Me, modeling my new Cabo halter. =)
The hook & eye on top of the zipper is still missing but will be added eventually… 😉
Pattern Challenge: Cabo Halter
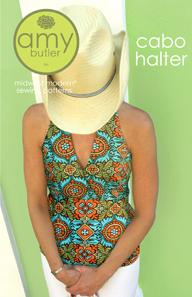
Over the weekend I finally had the chance to finish the first of my Pattern Challenge projects. I chose the Cabo Halter pattern from Amy Butler to get the challenge started.
This choice was not an arbitrary one, as this pattern had been bugging me for quite some time. A little time line:
After I bought the pattern I pretty soon started creating the first version of the halter top . Luckily, I chose to make a muslin before using any of my “good” fabric. I finished it up to the point when the zipper should be put in.
And then I tried it on.
Well, let’s just say, the upper part wasn’t very “covering” and definitely too small for me. The rest of the top fit just fine (I had chosen the Medium size).
So, not having any idea about what to do, I set it aside. And took it out again when this pattern challenge first came to my attention. At this point I had already read a few things about FBA (Full Bust Adjustment), so I kind of new what to do. At least I thought so… 😉
I searched for resources on the Internet and found quite a lot of suggestions about how to handle such an adjustment.
My favourites:
• Several Alteration Techniques
After I now was kind of informed, I just got to work and did my own alteration. I kind of used a “Y”-Bust Dart Alteration, creating a fuller bodice. During the sewing process I (= noob) realised I of course had to alter the other pattern pieces accordingly. I did a bit of tweaking there, so everything fit together nicely.
[My pattern alteration in process.]
The pattern itself is very easy to follow – the instructions are very clear, even for someone like me, who doesn’t really sew clothes. I did a lot of pressing (thanks here to my grandma who gave me a steam iron station as a present – love it!) and the light cotton fabric I chose was quite nice to sew. It’s a very cheap cotton, bought as a bargain in a pack of several fabrics. Originally it was white, but as never quite know what to do with white fabric I dyed it to a light blue.
Back to the pattern: even the zipper was easy to install! And I had been so afraid of that step!
So, here is my result:
[I just noticed I could have pressed it before photographing it. Sorry about that. ;-)]
You’ll notice two additions.
Firstly, I added a “modesty panel” to the front of the halter, as although the bodice was more forgiving due to my alterations, it still gaped wide open. I just used a bit of leftover fabric folded in half for this, having topstitched it first.
I attached the panel by also sewing it to the lower part of the halter top and by topstitching all around the upper part of the top (from the center over the straps down to the back).
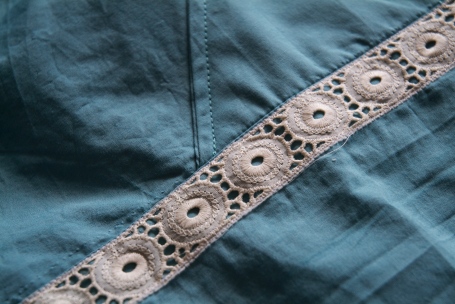
Secondly, I used some of the trim I bought recently at the thrift store, to add some interest to the single-coloured top.
Hope you like it!
P.S.: I’ll model the top soon, so you’ll have a photo of it on a “real-life” model too.
P.P.S.: Just a note: beware when using disappearing fabric marker. Or more specific: don’t mistake your permanent marker for your fabric marker. Yes, I did that. And yes, I had to cut a whole lot of new pieces out of my fabric.
Recipe: Going Austrian
I’ve been reading so many recipes over the last few months & adding them to my long list of things to try out, that I completely ignored my Austrian roots and the wonderful cooking that is done in this country. With all the crispy duck, naan bread and thai salad recipes I’ve been hoarding came the realisation that I might just have to fit in something a little bit more traditional. This might also have been triggered by the food I got to enjoy on my recent trips to visit my grandparents where my grandma cooked up a storm! And of course my mom was also taught well and I’m well known for stopping over for lunch/dinner/… 😉
So let’s start my project “Going Austrian” (in terms of cooking at least 😉 ) with something sweet. “Kaiserschmarrn” is served as a main but also as a dessert. It is a classic, served almost everywhere from traditional restaurant to ski huts. It is delicious but also very simple to prepare.
I’ve cooked this many times and still love it… =)
Kaiserschmarrn
(loosely translated: emperor’s rubbish, in reality: sugared, cut-up pancakes, often with raisins)
Serves 4
Ingredients:
30 g powder sugar
240 g flour (you could even use wholemeal flour)
8 eggs (separated)
1/2 l milk
40 g white sugar
80 g raisins (can be omitted, of course, or substituted/supplemented with other fruits – apples are a favourite)
Salt
Preparation:
• Mix flour with salt, milk and egg yolks.
• Whisk the egg whites with the sugar until stiff and fold under the flour mix.
• Pour mixture into a hot, greased pan (I use butter to grease) – so the pancake is about 1 cm high.
• Let bake for a bit, scatter over raisins.
• Flip onto other side. Finish baking until browned on both sides (slightly more than golden, I would say).
• Rip apart the pancake with the help of two forks (pieces can be of any size, usually the biggest ones are about 3 or 4 cm squared).
• Let rest for a little bit, dust with powder sugar and serve.
Serve with: fruit compote, apple puree, stewed plums…
P.S.: I know, no recipe is complete without a picture, but I usually just don’t photograph my food, so you’ll have to wait a few days until I cook it again… 😛
Joining the Pattern Challenge
With all those still unused sewing patterns lying around, I just had to join the Pattern Challenge over at Come And See The Seitz.
Sarah asks of the participants of the challenge to put into writing our goals, so here are mine. With summer coming up (I know, I know, it’s still quite a bit away.), I’d like to finish the following projects (the patterns and some of the fabrics I’ll use are already in my possession):
 The patterns are (from left to right):
1. McCall’s M5880 2. Amy Butler’s Cabo Halter 3. McCall’s M5653
4. Vogue V8553 5. McCall’s M5662 6. Vogue V1086
7. McCall’s M5586 8. McCall’s M5425 9. Vogue V8241
I think I’m going to be able to give quite a realistic review of these patterns, as they are mostly labelled as being “very easy”, so ideal for me as a newbie to sewing clothes. I’ll take lots of pictures and quite a few of them will probably include a seam ripper, but hey, that’s the way to learn, isn’t it?
Treasure Hunt
Oh, don’t you just love discovering hidden gems in thrift stores? I did so on a recent trip to one of those shops (well, actually I even returned for a second round of treasure hunting…).
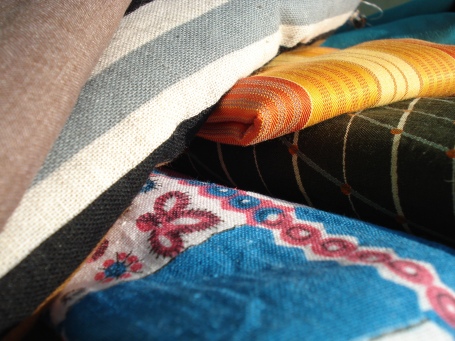
I bought a variety of things, from zippers in all lengths and colours, to trims and a sewing book and, of course, a lot of fabric.
Cotton, Linen, Jersey, you name it! And of course in lots of different colours…
So let’s just hope I’ll soon have the time to make good use of all my new goodies! =)
More Tutorials…
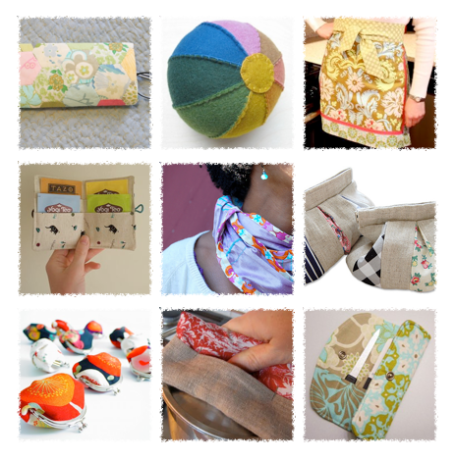
I added a few new tutorials to the Tutorials page! Inspiration ahoy!








Recent Comments